Creating a cluster with Rancher - Part 1: Installing rancher
Rancher is an open-source self-hosted Kubernetes user interface. I'm going to show you how easy it is to get up and running with Rancher so that you can have a play.


Rancher is an open-source self-hosted Kubernetes user interface. I'm going to show you how easy it is to get up and running with Rancher so that you can have a play. This will just be a single node install of Rancher so not recommended for production environments.
Provision server
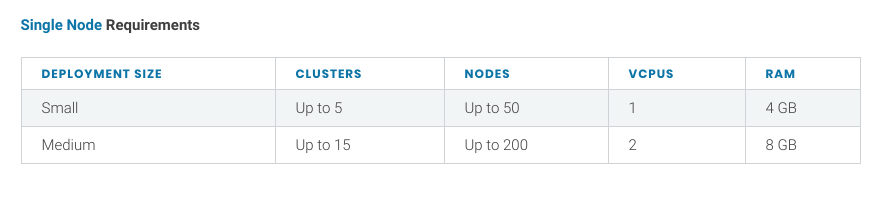
The requirements are well documented on the Rancher site. We're going to a small single node server, so we'll need a server with 4G of memory and at lease 1 VCPU.
For this example I'll also be running Ubuntu Server 18.04.
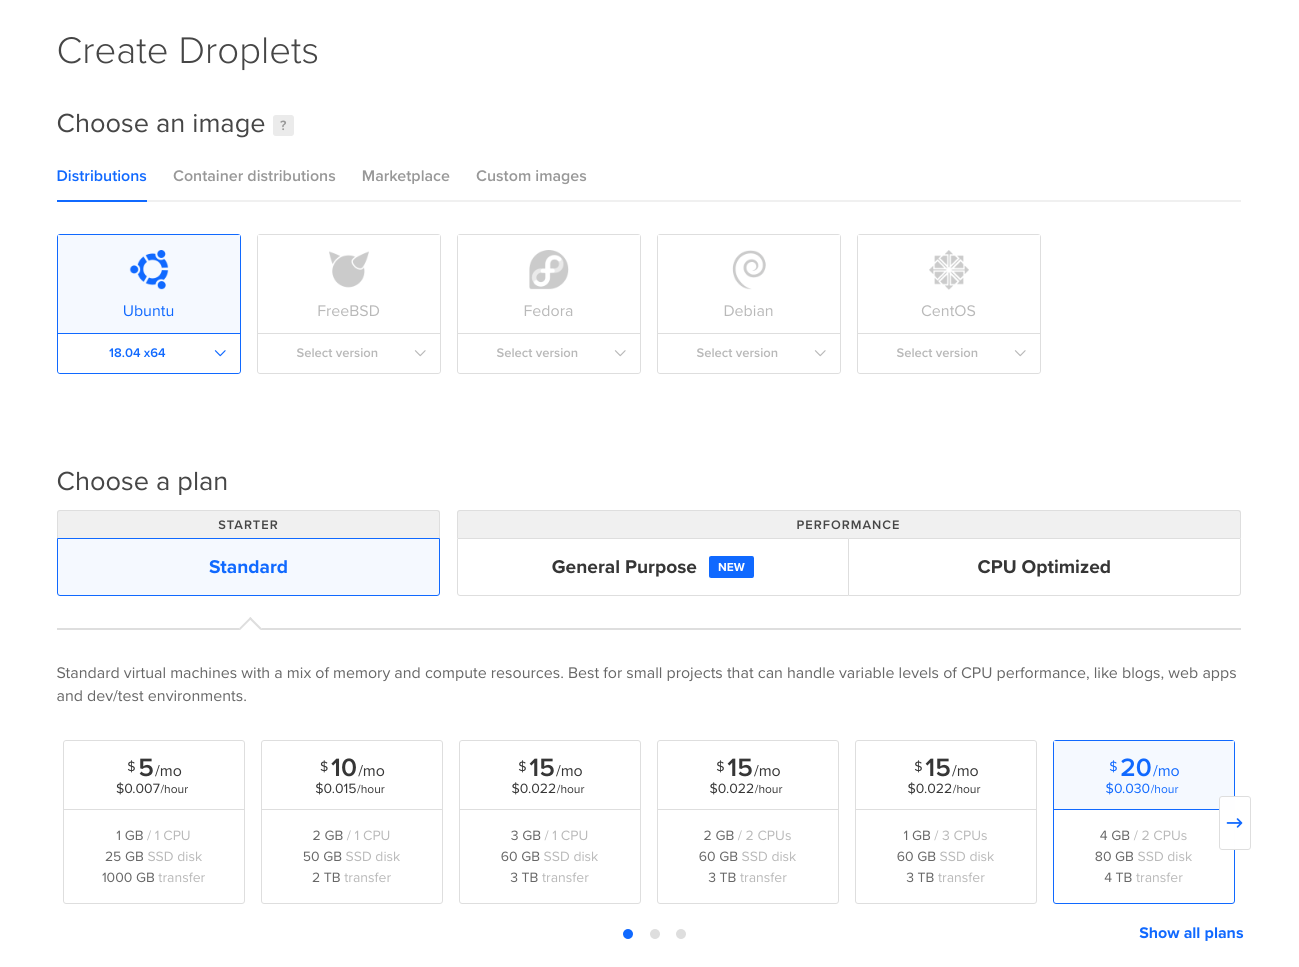
I'm going to use a Digital Ocean droplet, but you can use whatever provider you'd like so long as it meets the requirements.
Once that's done, if you want to have SSL that's not self signed. You can optionally point a DNS record at the boxes IP address.For this example I'm going to use rancher.craigpearson.co.nz.
Install docker
We need to install docker so log into the newly created server and run the following commands.
sudo apt-get update && sudo apt-get remove docker docker-engine docker.io containerd runc
sudo apt-get -y install apt-transport-https ca-certificates curl gnupg-agent software-properties-common
curl -fsSL https://download.docker.com/linux/ubuntu/gpg | sudo apt-key add -
sudo add-apt-repository "deb [arch=amd64] https://download.docker.com/linux/ubuntu \
   $(lsb_release -cs) \
   stable"
sudo apt-get update
sudo apt-get install docker-ce docker-ce-cli containerd.io
This removes any previously installed versions of Docker and adds the official Docker apt repositories.
Start Rancher container
Now we've got Docker installed all we need to do is start up the rancher container. If you're happy with self signed SSL cert you can run the following.
docker run -d --restart=unless-stopped -p 80:80 -p 443:443 rancher/rancherIf however you want to use Lets Encrypt and you've already set up a DNS record which is ready to go you can use the following to get Rancher to issue a SSL cert via the Lets Encrypt HTTP challenge. (Remember to change your --acme-domain).
sudo docker run -d --restart=unless-stopped -p 80:80 -p 443:443 rancher/rancher:latest --acme-domain rancher.craigpearson.co.nzSince this is for demo purposes and not meant for production there's no data persistence. If you'd like to persist the rancher data you can add a docker volume to the above command.
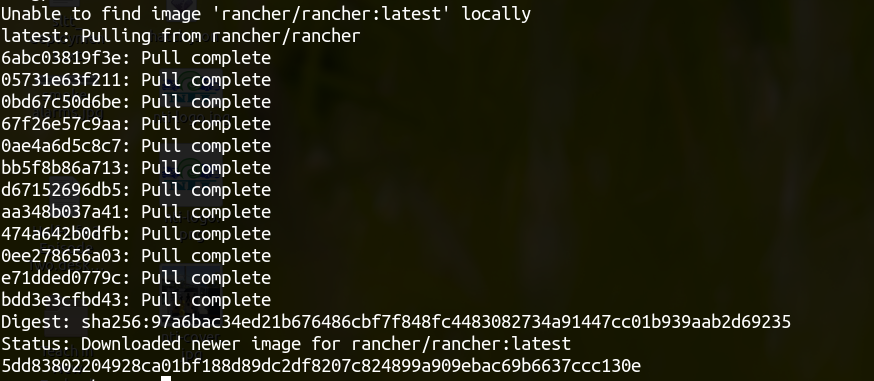
-v /opt/rancher:/var/lib/rancherIt should work away and download the latest image the output should look something like this.
Typing docker ps you should see there is now a rancher/rancher:latest container running.
Now at this point if you are considering running this in a publicly accessible manner I'd suggest taking a look at the Rancher hardening guide. Since this is just a simple tutorial, I'm not going to bother.
Configure and sign in
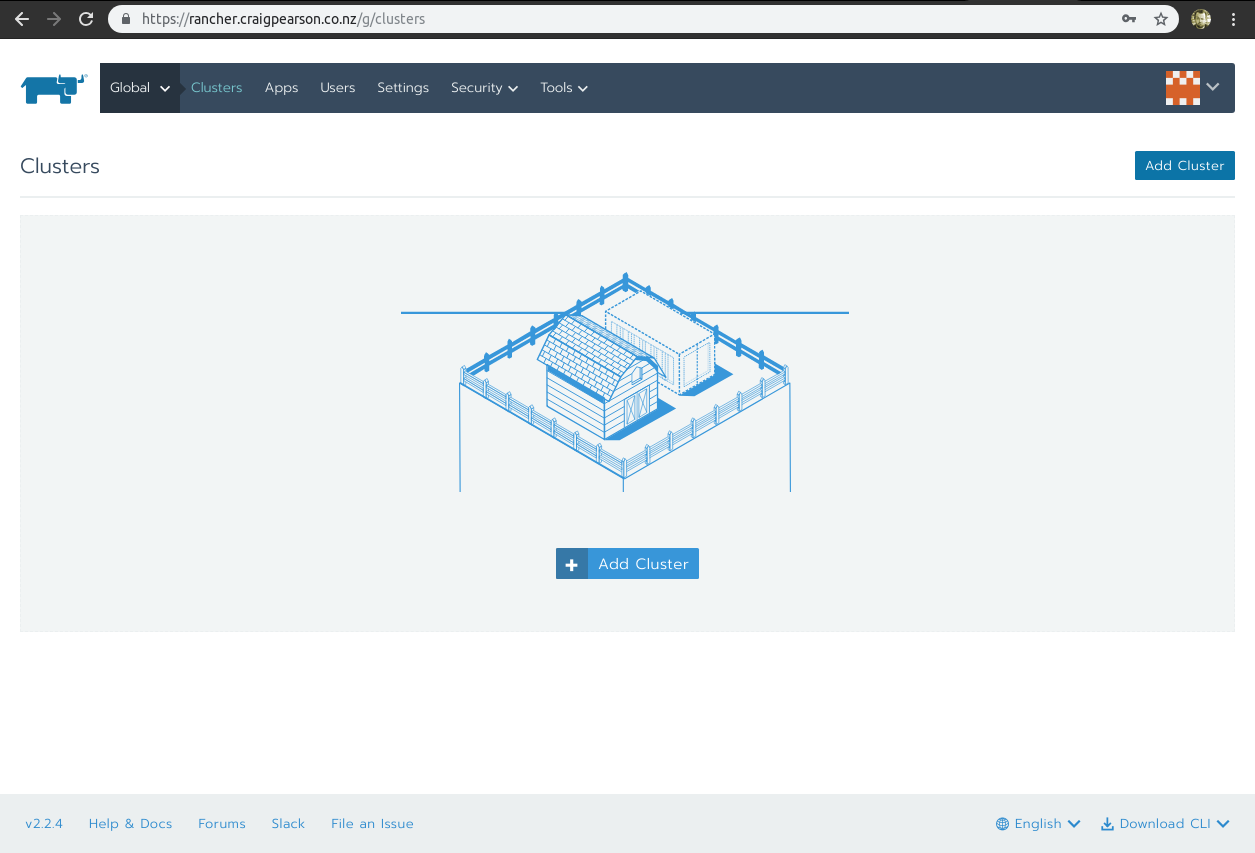
Now we're up and running. In a browser, navigate to your server's IP address or your configured DNS record and you should get something that looks like this.
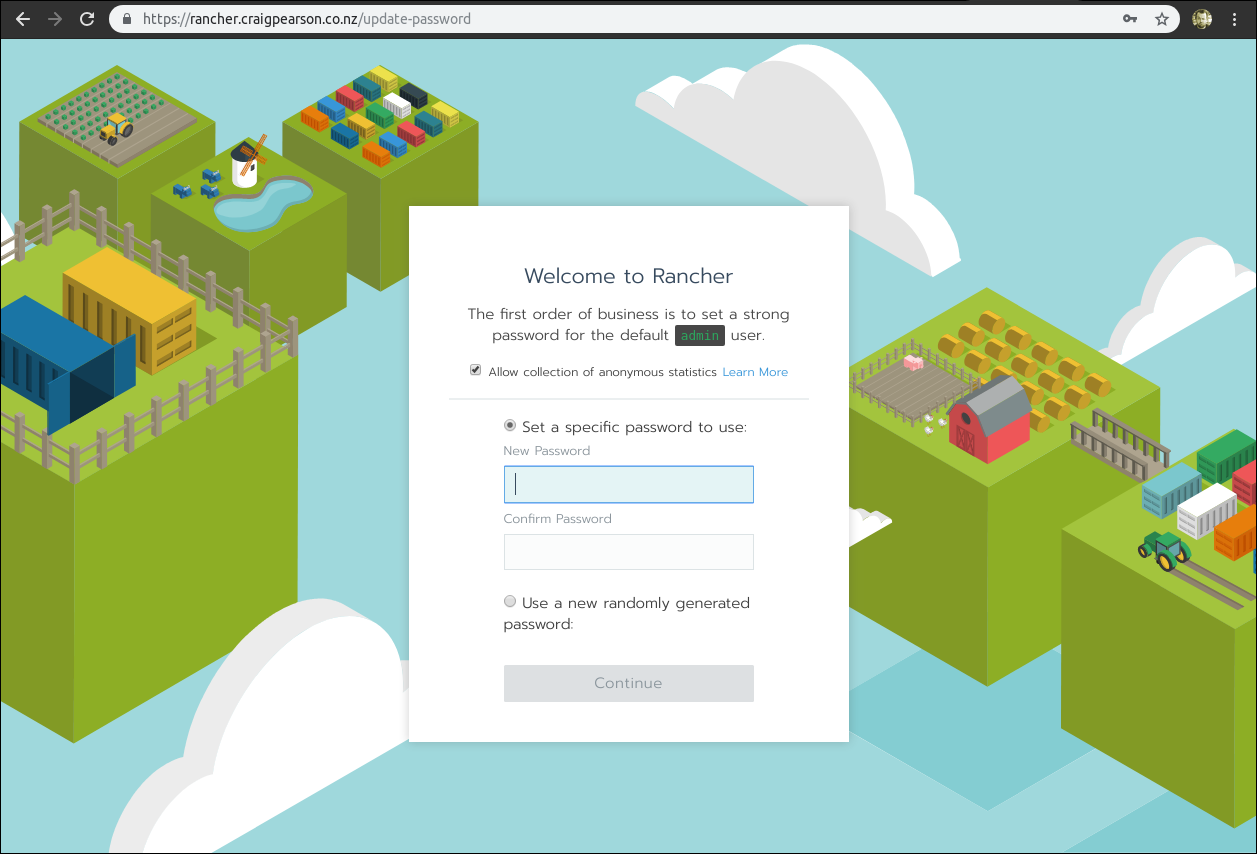
Set an administrator password and confirm your URL on the next page. Then, you're all logged in.
Next steps
This is a quick and dirty install to show you the basics of Rancher. In the next post I'll talk about some of the key features of rancher.