Installing Solr for development
Simple Solr server setup for use while developing


Intro
Solr is an open source search engine with many powerful features.
I encounter a lot of experienced developers that either don’t know how to use it or avoid it as it’s in the too hard/scary basket. In this introductory article we’ll talk briefly about how to install Solr in order to use it for development.
There are many ways to install and configure Solr but in this article I’ll show you how to set it up quickly so you can get started developing with it. While the installation and setup will be generic to any framework you want to develop with, I’ll also, show you a couple of extra steps if you’re using Drupal.
Requirements
The only real hard requirement/prerequisite for running Solr is Java. Version 1.6 is recommended for Solr version 4 and upward. Ubuntu and Mac should come with Java pre-installed.
I’m not a windows guy so sorry you guys are on your own There’s plenty of resources out there.
You can find out the version of Java you are running with the following command.
$ java -version

java version "1.7.0_72"
Java(TM) SE Runtime Environment (build 1.7.0_72-b14)
Java HotSpot(TM) 64-Bit Server VM (build 24.72-b04, mixed mode)
I am using Ubuntu 14.04 but the instructions in this article should work if you’re on a Mac or another variant of *nix
Download
Open a terminal and make a folder we can use for working in, and change to that directory:
$ mkdir solr
$ cd solr
Navigate to the Solr download page and find the closest mirror for you. At the time of this article the latest version of Solr is 4.10.2.
Copy the download link for either the solr-VERSION.tar.gz or the solr-VERSION.zip. You don’t want the solr-VERSION-src.tgz (this is the source code and will need to be compiled) and download it with wget.
$ wget -c http://mirrors.sonic.net/apache/lucene/solr/4.10.4/solr-4.10.4.tgz Unpack
Once downloaded (it’ll be about 150M) we can un-compress it and change into the directory.
$ tar -zxvf solr-4.10.2.tgz
$ cd solr-4.10.2/
Make a working copy
In the current directory there is a folder called example we want to make a copy of this folder.
We could just use the example folder but it’s nice to leave that clean on case you want to use this copy of Solr for other sites as well. So we’ll make a copy and then change directory into the newly created copy.
$ cp -prv example my_solr
$ cd my_solr
Make it work
Now we’re ready to run it for the first time. To run Solr it’s really simple. Simply run:
$ java -jar start.jarYou should see a whole bunch of output (to stop solr press CTRL^C). After a few seconds if you open your browser and navigate to http://0.0.0.0:8983/solr/ you should see something similar to the following (the actual screen may differ depending on your version)
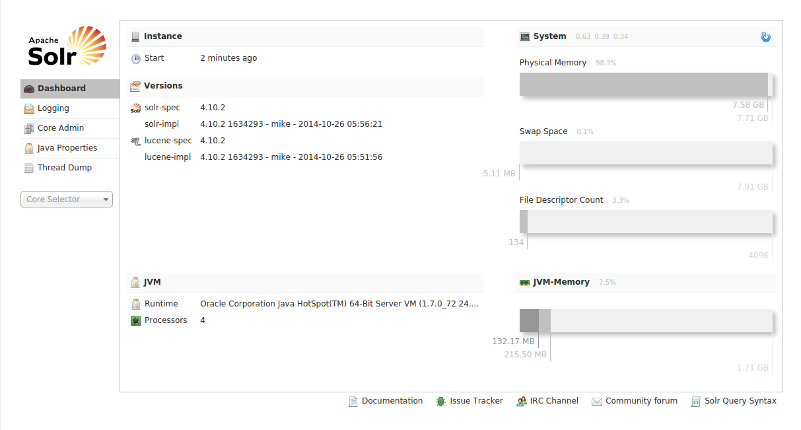
That’s it. Solr is now set up and ready to use. Depending on your client frame work you may need to makes some config changes to Solr itself. Consult the installation instructions of your chosen framework. If you’re using Drupal keep reading and I’ll show you the steps required to make Solr ready for Drupal integration. First lets stop SOlr from running by hitting CTRL^C in your terminal.
Modules
There are a couple of modules you can use for Drupal integration with Solr. I wont go into the Drupal configuration side of things (I’ll leave that for another day) but will talk about the steps required to get the Solr server we’ve set up ready for Drupal usage depending on the Solr module you’ve chosen.
Search API and Apache Solr
If you’re using the search_api you will need to ensure you have the search_api_solr module installed. Otherwise the apachesolr module is the way to go.
In both the search_api_solr and apachesolr modules, you’ll find a folder called solr-conf in this folder there will be version folders 4.x, 3.x etc. Choose the version of Solr you downloaded. This folder contains all the config files you need to install in your Solr install. I could probably write a whole bunch of articles about the contents of these files but since this is a beginner tutorial we’ll just take the easiest route.
You want to copy the contents of the solr-conf/4.x/ folder into your solder core. We can do this with the following, go back to your terminal, and run (change the path to your Drupal module):
$ cp -v **/path/to/apachesolr/or/search_api_solr/**solr-conf/4.x/* solr/collection1/conf/That will copy the config for your Drupal site into the my_solr/solr/collection1/conf/ directory.
Conclusion
Solr is now ready for use by your Drupal install. You can run it whenever you like by changing into the my_solr directory and starting it.
$ java -jar start.jarI wouldn’t recommend using this setup in production. However, for developing on your local machine, it’s perfectly fine.
In the next article, I’ll talk about how to configure the search_api and search_api_solr to use Solr as a search engine for your Drupal site.